


Receive Form Submissions on Next.js, Node.js or Python

Keep a signed copy of every form submission in your own app. Ready-made receivers for Next.js, Node.js, Python, Laravel and PHP, and the four rules if you write your own.
Plenty of teams want their form answers in two places: in Weesify, where the person becomes a contact and automations start, and in their own app, next to their customers, orders or tickets. Until now Weesify shipped receivers for WordPress, plain PHP and Laravel. This release adds Next.js, Node.js and Python, and Weesify now recognises those sites when you connect them.
This guide walks through connecting a site, choosing the right receiver, what the receiver must check, and how to move from the example storage to your own database.
In this guide
- How copies work
- Connect your site
- Pick your receiver
- The four rules every receiver follows
- From JSON files to your database
- Testing and going live
- Other ways to get answers out
How copies work
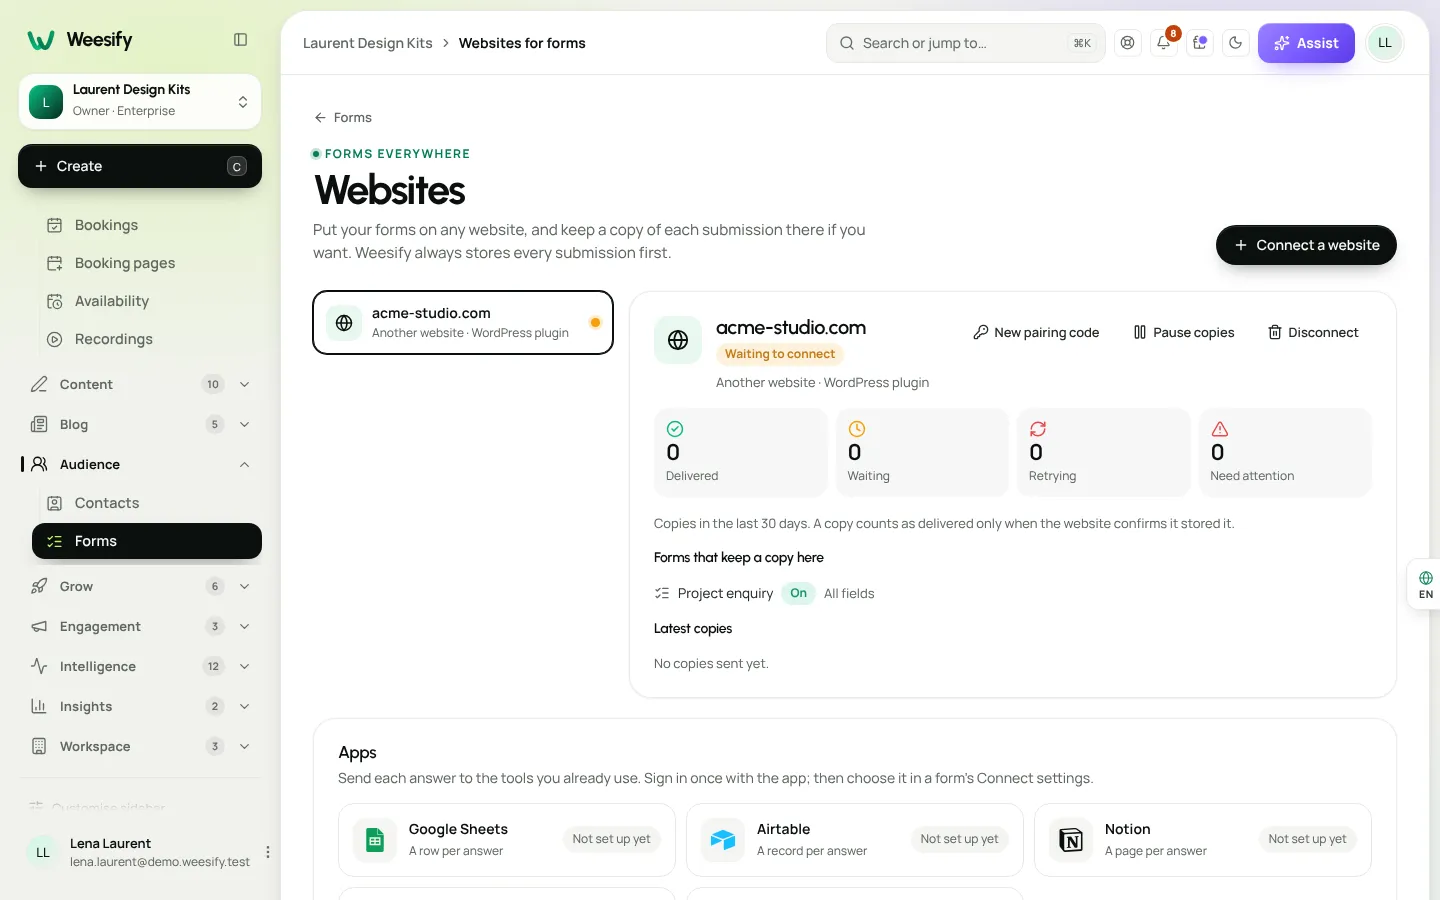
Weesify stores every submission first. When a form has Keep a copy on this website turned on, Weesify then sends a copy to your site as a signed HTTPS request. Your receiver checks the signature, stores the copy once and answers that it's stored. Only then does Weesify count the copy as delivered.
If your site is down or answers with an error, Weesify tries again for about a day, with growing gaps between tries. The Websites screen shows each site's delivered, waiting, retrying and failed copies, so you always know where things stand.
Connect your site
- Go to Forms › Websites and press Connect a website.
- Enter your site's address. Weesify looks at its public page and recognises WordPress, Laravel, Next.js, Node.js, Python and plain PHP sites, and suggests the right receiver address, for example
/api/weesifyfor Next.js. - Copy the signing secret. It's shown once. Keep it on your server as an environment variable called
WEESIFY_SECRET, never in a web page or in your repository. - Download the receiver for your stack from the same panel.
If Weesify can't tell how your site is built, choose My own server and enter the address yourself. Any stack that can receive an HTTPS POST works.
Pick your receiver
Next.js (App Router). Save route.ts as app/api/weesify/route.ts. It runs on the Node.js runtime, reads the raw body, checks the signature and answers in JSON. There's a clearly marked place for your database call, using Prisma, Drizzle, Supabase or whatever you already use.
Node.js. weesify-receiver.mjs needs Node 18 or later and no packages. Run it on its own behind HTTPS, or mount it in Express with app.post('/weesify/receive', weesifyExpress()). Don't put a JSON body parser on that route: the signature is checked against the exact bytes Weesify sent.
Python. weesify_receiver.py uses only the standard library, Python 3.8 or later. Run it on its own, or call its handle() function from a Flask route or a Django view. In Django, mark the view @csrf_exempt: the signature is what protects it.
Laravel. WeesifyFormCopyController.php goes in app/Http/Controllers, with one route in routes/api.php and a small table for the copies. The file shows both.
PHP. weesify-receiver.php works on any PHP 7.4+ host, including shared hosting. Upload it and set the secret.
Every file explains itself at the top, so you can read exactly what it does before it goes near your server.
The four rules every receiver follows
If you'd rather write your own, these are the only things it has to do.
1. Check the signature. Each request has two headers: X-Weesify-Timestamp (seconds) and X-Weesify-Signature, which is v1= followed by the hex HMAC-SHA256 of timestamp.body using your secret. Compute the same value from the raw body and compare it in constant time.
2. Refuse old requests. If the timestamp is more than five minutes away from your server's clock, answer 401. This stops a captured request being sent again later.
3. Answer pings. When you press Test in Weesify, it sends {"event": "ping"}. Answer {"ok": true}.
4. Store each copy once. A real copy has "event": "submission.copy" and an idempotency_key. Save it if you haven't seen that key and answer {"stored": true}; if you have, answer {"duplicate": true}. Retries reuse the same key, so a copy that arrives twice is stored once.
Anything other than a 2xx answer with stored or duplicate is treated as "try again later". That's deliberate: if your database is briefly down, answering 500 means Weesify keeps the copy waiting rather than losing it.
We test these rules against our own receivers on every release: Weesify's signer produces a real request, the Node.js and Python files run as they would on your server, and the checks above must hold, including a refused stale timestamp.
From JSON files to your database
The PHP, Node.js and Python receivers save each copy as a JSON file in a private folder, so they work the moment you upload them. That's fine for a test or a low-volume site. For anything real, change the store() function to write a row in your database:
- use the
idempotency_keyas a unique column, so the database itself refuses duplicates; - keep
submission.id, the reference back to the original in Weesify; - store
answersas JSON, or map the questions you care about into their own columns; fileslists any uploads with their names and a download address.
The Next.js receiver ships with an in-memory set instead of files, because most Next.js hosts have no lasting disk. It's labelled clearly as not durable, with a commented example of the database call that replaces it.
Testing and going live
- Deploy the receiver with
WEESIFY_SECRETset. - In Forms › Websites, press Test. A green "connected" means the signature, the clock and the ping all work.
- Open a form, go to Copies and turn on Keep a copy on this website for your site.
- Submit the form once yourself and watch the copy appear as delivered.
If Test fails, the message says why in plain words: the address couldn't be reached, the answer wasn't JSON, or the signature didn't match (usually a secret pasted with a stray space, or a body parser changing the bytes).
Other ways to get answers out
Copies to your server are one of several routes, and you can use more than one at once:
- Apps. Google Sheets, Airtable, Notion, HubSpot and Salesforce, each with its own sign-in, from the same Websites screen.
- Webhooks and the API. Every response is an event you can send anywhere, and the API reads forms and responses. Our post on the Weesify API and CLI covers both.
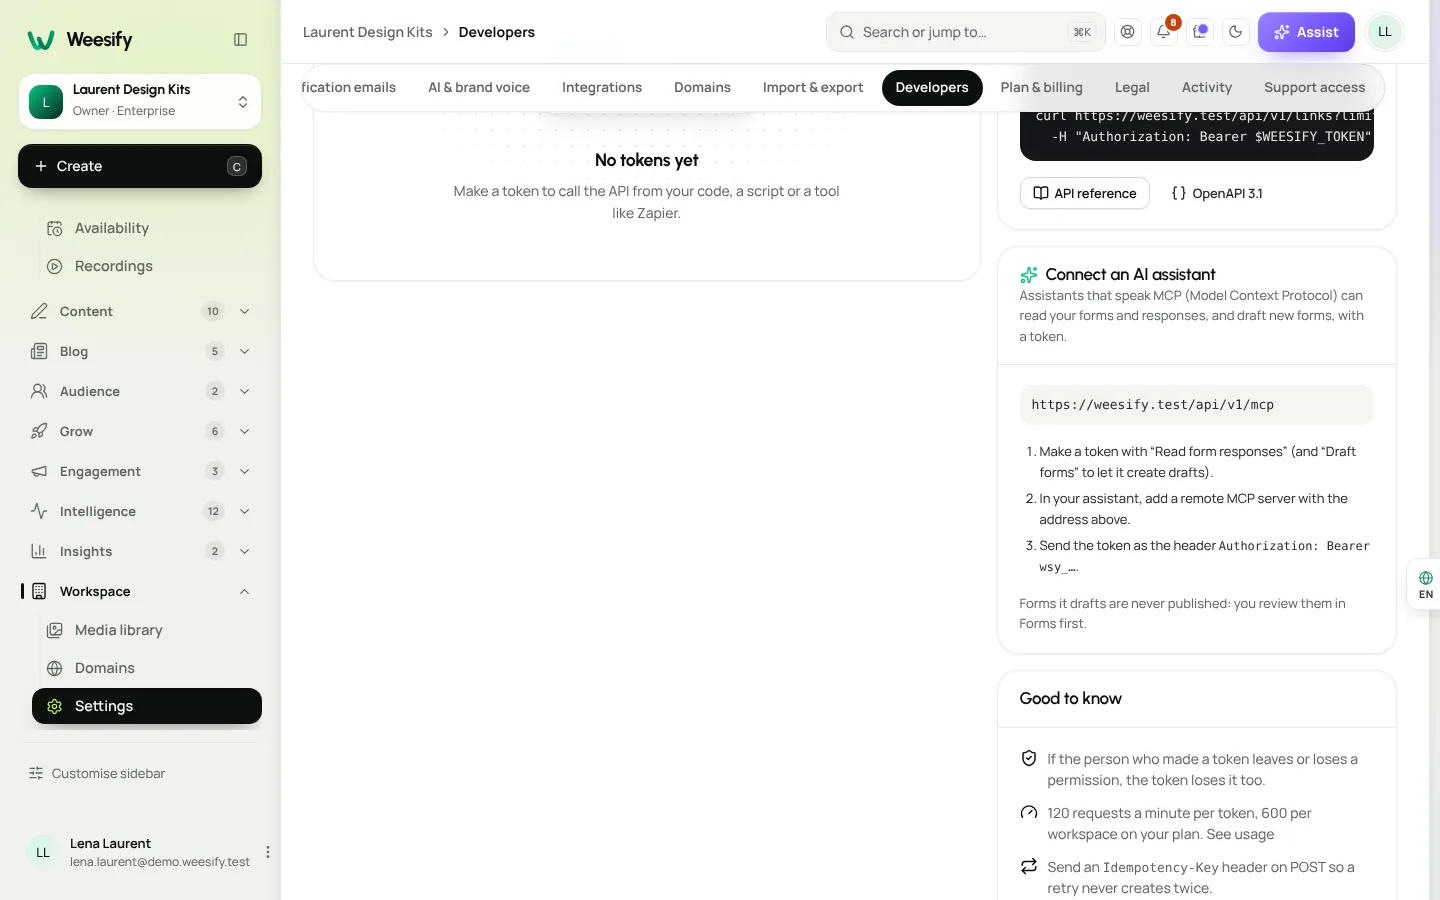
- AI assistants. Weesify's MCP server lets an assistant you use read your forms and responses and draft new forms, on a token you control.
Whichever route you choose, Weesify keeps the original, so you can turn a destination off, fix it and turn it back on without losing a single answer.
Get new posts by email
New articles from Weesify Blog, straight to your inbox. No spam, unsubscribe any time.
By subscribing you agree to get emails from Weesify Blog. Unsubscribe any time.
 Guides
Content Calendar Planner: A Step-by-Step Guide
A content calendar only helps if it is honest about your time. Here is how to use Weesify's planner to map campaigns, catch clashes and keep a steady rhythm.
7 min read
 Guides
Remove Pauses and Filler Words From Video Automatically
Long pauses and 'um's make good videos feel slow. Here is how Weesify Video Studio finds them for you, lets you review each one, and removes them in one tap.
6 min read
 Guides
Welcome Email Sequence: Build One With Automations
The first days after someone subscribes are when they pay the most attention. Here is how to build a welcome email sequence in Weesify Automations that greets every new subscriber on time, every time.
8 min read
Comments
No comments yet. Start the conversation.